Wild Format 2.24: Calibration & Device Profiling – Intro
While a surprising number of prepress operators and designers still spend a huge amount of time and materials “trying to get the colours right”, this should really be a quite straight forward process today. By applying modern tools for colour management, you will be more efficient managing your colour printers, reducing wasted time and consumables, and achieve a predictable and pleasing result.
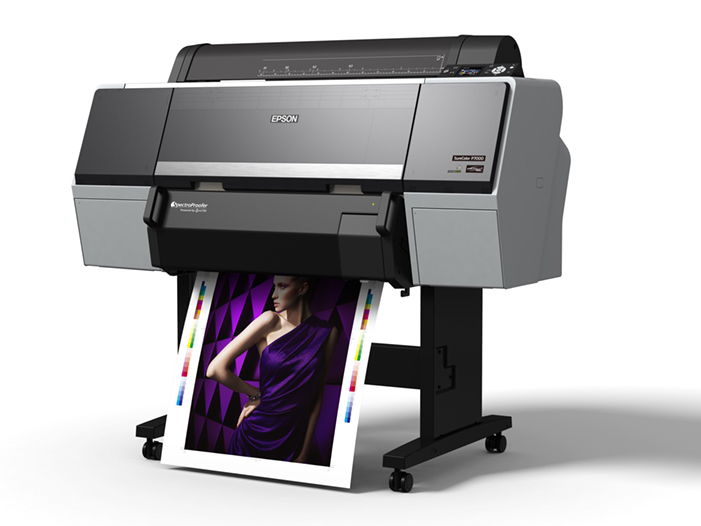
More and more colour printers can be equipped with a built-in spectrophotometer, like this Epson SC-P7000V. It makes both calibration and profiling much faster and efficient.
Learn how to use a spectrophotometer
There is no way around it – if you want to manage colours – be it on your screen or on your printer – you need to invest in a spectrophotometer. You will use this in the two main steps involved in colour management. The first step is a base calibration of the device. When you are assured that the device is in a stable and predictable state, you display or print a test form, and measure the colours the device now produces. The result is saved as an ICC-profile, and this will now tell the Colour Management System (CMS), inside the operating system in your computer, Mac or PC, how to manage the colours of your device. At the core of it, it’s no more complicated than that. But you will, of course, need some software in order to do this, and this is perhaps where the problem with colour management lies. There is a wide choice of software, and they often seem very complex and complicated to use. But be brave, and be a bit stubborn, and you will figure it out. There are many books written on the topic, but unfortunately not all of them are entirely accurate, and might confuse more than they help. One we can recommend though is Color Management Handbook: A Practical Guide by Adams, Sharma and Suffoletto – it’s a classic and goes through the basics as well as some of the more advanced stuff.
But let’s go through the two main steps – calibration and profiling – a bit more in detail, and it should help you get started with applied colour management.
Consistency and Calibration
There is actually a step before calibration that needs to be checked, to make sure you have a stable and repeatable result from your device. You need to ensure consistency. For a monitor screen, it means you need to ensure your environment has a stable and suitable light. Avoid strong light sources that can cause glare on the screen (don’t sit by a window with strong sun light.), and ideally you should have a shading hood on the monitor.
For a colour printer, you need to check that all the nozzles are clear and working and if you can check and optimize the registration of the nozzles, you should do this before calibration. Avoid fluctuations in temperature and humidity – they will both affect the printed result. To achieve the highest possible print print quality, you may need to use air conditioning to control both temperature and humidity. Now you can print a test form to check that the printer produces all the tone values in a linear way, meaning 50% cyan really comes out at 50% etc. If not – use the software to adjust this. For a monitor this calibration is done in the software, by measuring the tone values on the screen and adjusting if necessary so that the monitor produces a smooth reproduction of all the tone values.
Profiling (really called Characterisation)
When the printer is calibrated it’s time to print a colour chart representing all the colours in the expected colour gamut the printer can produce. In colour management language this is called characterisation, because when you measure this printed colour chart with a spectrophotometer the measurement data will describe the characteristics of the printer. The profile, because the ICC-profile is created based on this colour data, won’t correct any of the colours, contrary to what if often said about ICC-profiles. Instead, the colour table which resides inside the ICC-profile is used when converting colours from one colour space to another. Typically, this will be when you convert your images in RGB to the colour space of your printer, mostly the CMYK colour space. The CMS inside your computer calculates the closest match, using the table in the ICC-profile for your printer, to match the colour in your image. This is why it’s so important to use the correct ICC-profile when you prepare your design for output. If you are not sure it’s better to keep the images in RGB, and we would suggest Adobe RGB since it’s a quite large colour gamut, and let the printer convert to CMYK at the stage of output. But even better, is to ask the printing company which ICC-profile they suggest for the job in hand. This depends mainly on what substrate the job will be printed on and what ink will be used. The paper and ink are the two main factors which determine the achievable colour gamut.

Profiling, or as it really should be called, characterisation, means that you print and measure a colour target like this, and then create an ICC-profile based on this colour data.
The beauty of knowing the exact characteristics of a certain output device, that is, knowing which ICC-profile to use when printing on a specific substrate, is that you can now predict the end result. Using the Adobe Creative Cloud suite of software, you can preview with great colour accuracy what the colours and photos will look like, assuming you sit at a calibrated monitor of reasonable quality. Or you can use your calibrated colour printer as a proofer, simulating exactly what the final prints will look like.
More and more colour printers now have the option to have a spectrophotometer built into the printer – this will save you a lot of time, both when calibrating the device and when validating the printed result (checking that the printer conforms to the standard you want to achieve). All the professional RIP-systems have a Colour Management module – learn how to use this in depth. Or you can buy a stand-alone colour management solution to complement this – there are several very good ones on the market – ask the manufacturer of your printer which solution they know works well with your model.
Using applied colour management in this way will save you a lot of time, give you the satisfaction of knowing, not guessing, what the colours will look like when printed. This is quality control at its best, and will help you stay within budget or even save some money here and there.
Paul Lindström
The Wild Format guides are intended to expand awareness and understanding of the craziness that can be created on wide format digital printing devices, from floors to lampshades and everything in between.
These guides are made possible by a group of manufacturers working together with Digital Dots.
This article is supported by Efi (www.efi.com), Esko (www.esko.com) and HP (www.hp.com).
Together we hope you enjoy the articles and that you put into practise what you learn. If you want to talk about it, go to our LinkedIn group at via this link.
Enjoy and Go Wild!


![]()
Kandidaten gezocht


![]()
De trainingen voor 2022 staan gereed. Kijk voor het volledige online aanbod van bestaande- en nieuwe trainingen op de website.


BLOKBOEK.COM EN PRINTMEDIANIEUWS: HET OPTIMALE DOELGROEP BEREIK